Karakoram trekking · Hunza & Nagar
Short treks in Hunza and Nagar range from a couple of hours on Gulmit’s community stairway to several days beside glaciers and high alpine lakes. This guide compares nine routes—including Rakaposhi Base Camp and Rush Lake—and explains the time, fitness, equipment and local support each actually requires.
Crossroads Adventure · Editorial review: 4 October 2026 · Distances and elevations are approximate; access, glacier routes and seasonal services require local confirmation before departure.
Which trek should you choose?
Hunza and Nagar face one another across the river corridor, but their trailheads are not interchangeable. Gulmit, Borith, Karimabad and the Patundas approach are on the Hunza side. Minapin and Hoper—the gateways to Rakaposhi Base Camp and Rush Lake—are in Nagar. Check the exact village and pickup point when booking transport.
| Route | Walking distance* | Time to allow | Destination altitude | Challenge |
|---|---|---|---|---|
| Ondra Poygah | ~2–3 km return | 2–3 hours | ~2,700–2,800 m | Sustained stairs |
| Baskochi Meadows | ~3–4 km return | 2–4 hours | ~2,900 m | Short, steep climb |
| Borith–Passu viewpoint | Variable; choose the viewpoint first | 2–4 hours for a nearby viewpoint outing | Borith ~2,600 m; viewpoint varies | Rough moraine-edge paths |
| Ultar Meadows | ~10–12 km return, depending on start | 7–9 hours; overnight option | ~3,270–3,300 m | Steep gorge and rough ground |
| Patundas Meadows | ~24–30 km return, route dependent | 3–4 days; add acclimatisation if needed | ~4,170–4,300 m, depending on camp/viewpoint | Glacier crossing, steep ascent, altitude |
| Hoper walks | Varies with village and viewpoint | 45–90 minutes or a longer village circuit | Village roughly 2,700–2,800 m | Easy only on a selected safe path |
| Hapakun Meadows | ~11–12 km return | 6–8 hours; overnight option | ~2,800 m | Long uphill approach |
| Rakaposhi Base Camp | ~17–20 km return on common approaches | 2–3 days recommended | ~3,300–3,500 m, location dependent | Large ascent and steep upper trail |
| Rush Lake | Obtain the full mapped itinerary; ascent-only tracks are not total trek distances | 5–7+ trekking days, with a gradual ascent plan | ~4,660–4,694 m | Glacier travel, remote camping and altitude |
*Return means out-and-back walking, excluding vehicle travel. Figures are planning ranges rather than surveyed measurements. Total ascent includes uphill sections and can exceed the difference between village and destination. Rush Lake circuit and retracing itineraries differ too much to give one dependable total distance here.
For a first mountain visit, start with Ondra or a village walk and see how you feel. A short distance does not automatically mean an easy route: Baskochi has a steep climb, and Patundas involves much more than following a marked footpath. Our Pakistan hiking trails guide offers a wider comparison if you are still choosing a region.
Best season, temperatures and mountain weather
For the higher meadows, June to September is the usual planning window, with July and August offering a better chance of snow-free approaches. A late snowfall, unstable glacier access or damaged trail can still change that window. Spring blossoms and autumn colours suit lower village outings, but neither season guarantees access to Patundas or Rush Lake.
| Period | Lower walks | Higher treks | Planning priority |
|---|---|---|---|
| March–May | Possible in dry conditions; spring interest | Snow may block upper trails and camps | Confirm snowline; avoid icy steps |
| June–August | Early starts help on exposed slopes | Main trekking period, subject to conditions | Sun protection, rain layers and glacier assessment |
| September–October | Often attractive for village and lower hikes | Shorter days, colder camps, increasing snow risk | Earlier turnarounds and winter-capable layers |
| November–February | Only suitable local outings after checking ice | Outside the normal recreational trekking season | Do not apply summer itineraries to winter terrain |
How cold should you prepare for?
A temperature forecast for Gilgit or Karimabad is not a forecast for a 4,000 m campsite. For summer equipment planning, prepare for warm, exposed daytime walking at village level and cold evenings around 3,000–3,500 m. On Patundas and Rush Lake itineraries, prepare for overnight temperatures at or below 0°C, with colder conditions possible in any month. Wind, wet clothing and a cold ground surface can make conditions feel substantially worse.
These are preparation thresholds, not monthly climate averages or a promise of weather. Request a recent mountain forecast and campsite-specific temperature estimate from your guide. Select a sleeping bag by its comfort rating, not its extreme rating; for high camps, discuss a comfort rating around −5°C to −10°C with the operator and adjust for season and personal cold sensitivity. An insulated mat matters as much as the bag.
Check forecasts again immediately before walking and after any major weather change. Our best time for hiking in Pakistan guide explains the broader seasonal picture; Pakistan Meteorological Department is an official source for weather advisories.
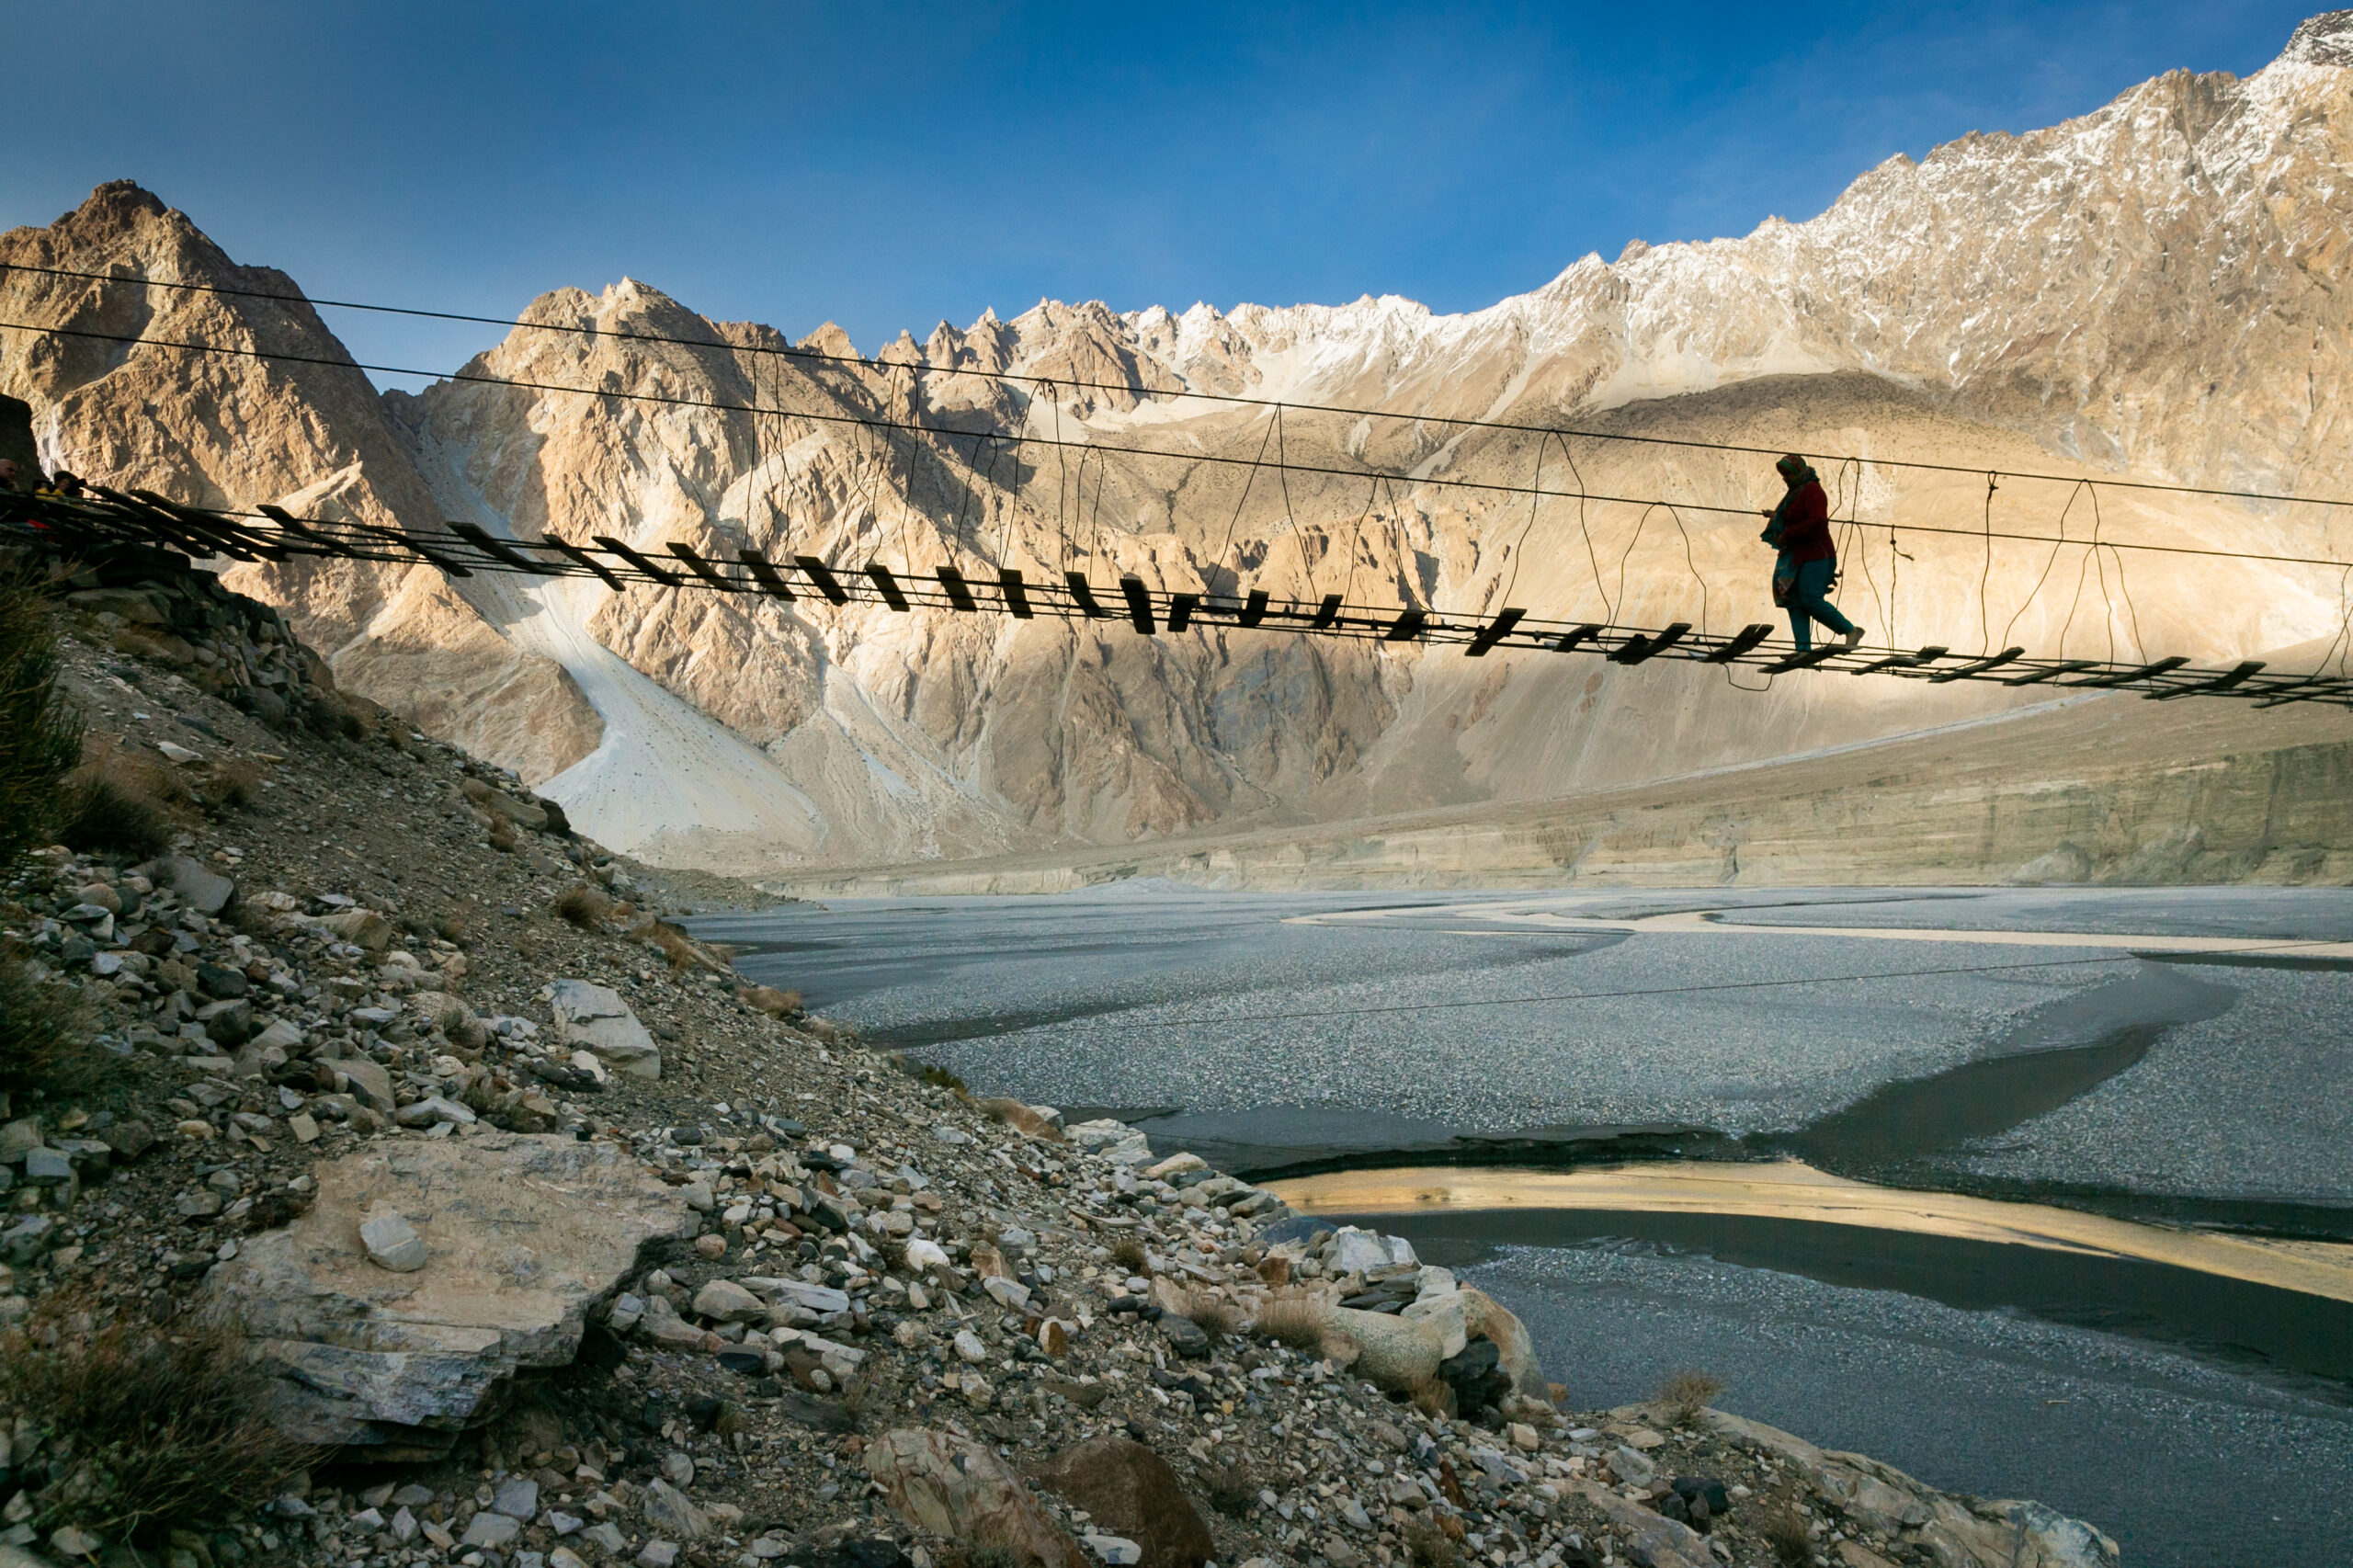
1. Ondra Poygah: Gulmit’s stairway walk
Best for: an accessible first outing with village views and a clearly defined climb. Ondra Poygah is the community-built stairway above Gulmit, leading towards the old Ondra fort site. The attraction is the ascent itself and the view over Upper Hunza; do not expect an intact palace at the top.
Route and access
Stay in Gulmit or arrange a drop-off in the village, then confirm the current stairway entrance locally. The steps climb continuously towards the hilltop; allow roughly 60–90 minutes uphill at a comfortable pace, rather than treating an online downhill track time as an ascent estimate. Walk back down carefully: repeated steps can be harder on knees than the climb.
Facilities and practical details
Buy water and snacks in Gulmit and use a toilet before starting. Do not depend on a shop at the summit. Carry a light wind layer, sun protection and shoes with dependable grip. Walking poles can help on descent if used without blocking others. Any community entry contribution should be confirmed at the entrance; carry small cash and ask for the current arrangement.
A guide is helpful for village context but a glacier specialist is not required for this stairway. Ask about icy or damaged sections after bad weather. Families should judge the sustained climb honestly, allow frequent breaks and supervise children at exposed edges. Turn back if the steps are slippery, you become dizzy or the weather deteriorates.
2. Baskochi Meadows: a steep hike above Attabad Lake
Best for: a compact uphill hike with views over Attabad’s turquoise water. Baskochi—also written Baskochi Top or Baskuchi—is above the lake in Upper Hunza. It is a meadow viewpoint, not a lakeside stroll.
Route and access
Ask your accommodation or guide to identify the current roadhead above the Attabad corridor and arrange a safe vehicle stop. Starting from a different hotel, parking place or lower path changes the distance. The climb gains height quickly on an exposed slope before reaching the meadow and lake-facing viewpoints. The commonly recorded high point is around 2,900 m.
What makes it demanding?
The distance is modest, but steep gradients, loose ground and limited shade make an early start worthwhile. Keep back from drops when photographing the lake. Avoid shortcuts that loosen stones or cut across vegetation; descend slowly on the same assessed route. Wet ground, snow or poor visibility can turn a moderate outing into a difficult one.
Carry all your drinking water and a snack; do not assume there is a reliable refill, toilet or staffed café in the meadow. A local guide is a good choice if you cannot identify the trailhead or current path. Choose Ondra instead if your group prefers constructed steps and village access. Return before afternoon weather builds or fatigue makes the descent unsafe.
3. Borith Lake to a Passu Glacier viewpoint
Best for: seeing a glacier landscape without committing to a multi-day crossing. Borith Lake sits above the Karakoram Highway near the Ghulkin/Hussaini area. A viewpoint walk from this side and the Patundas glacier-crossing trek are different activities.
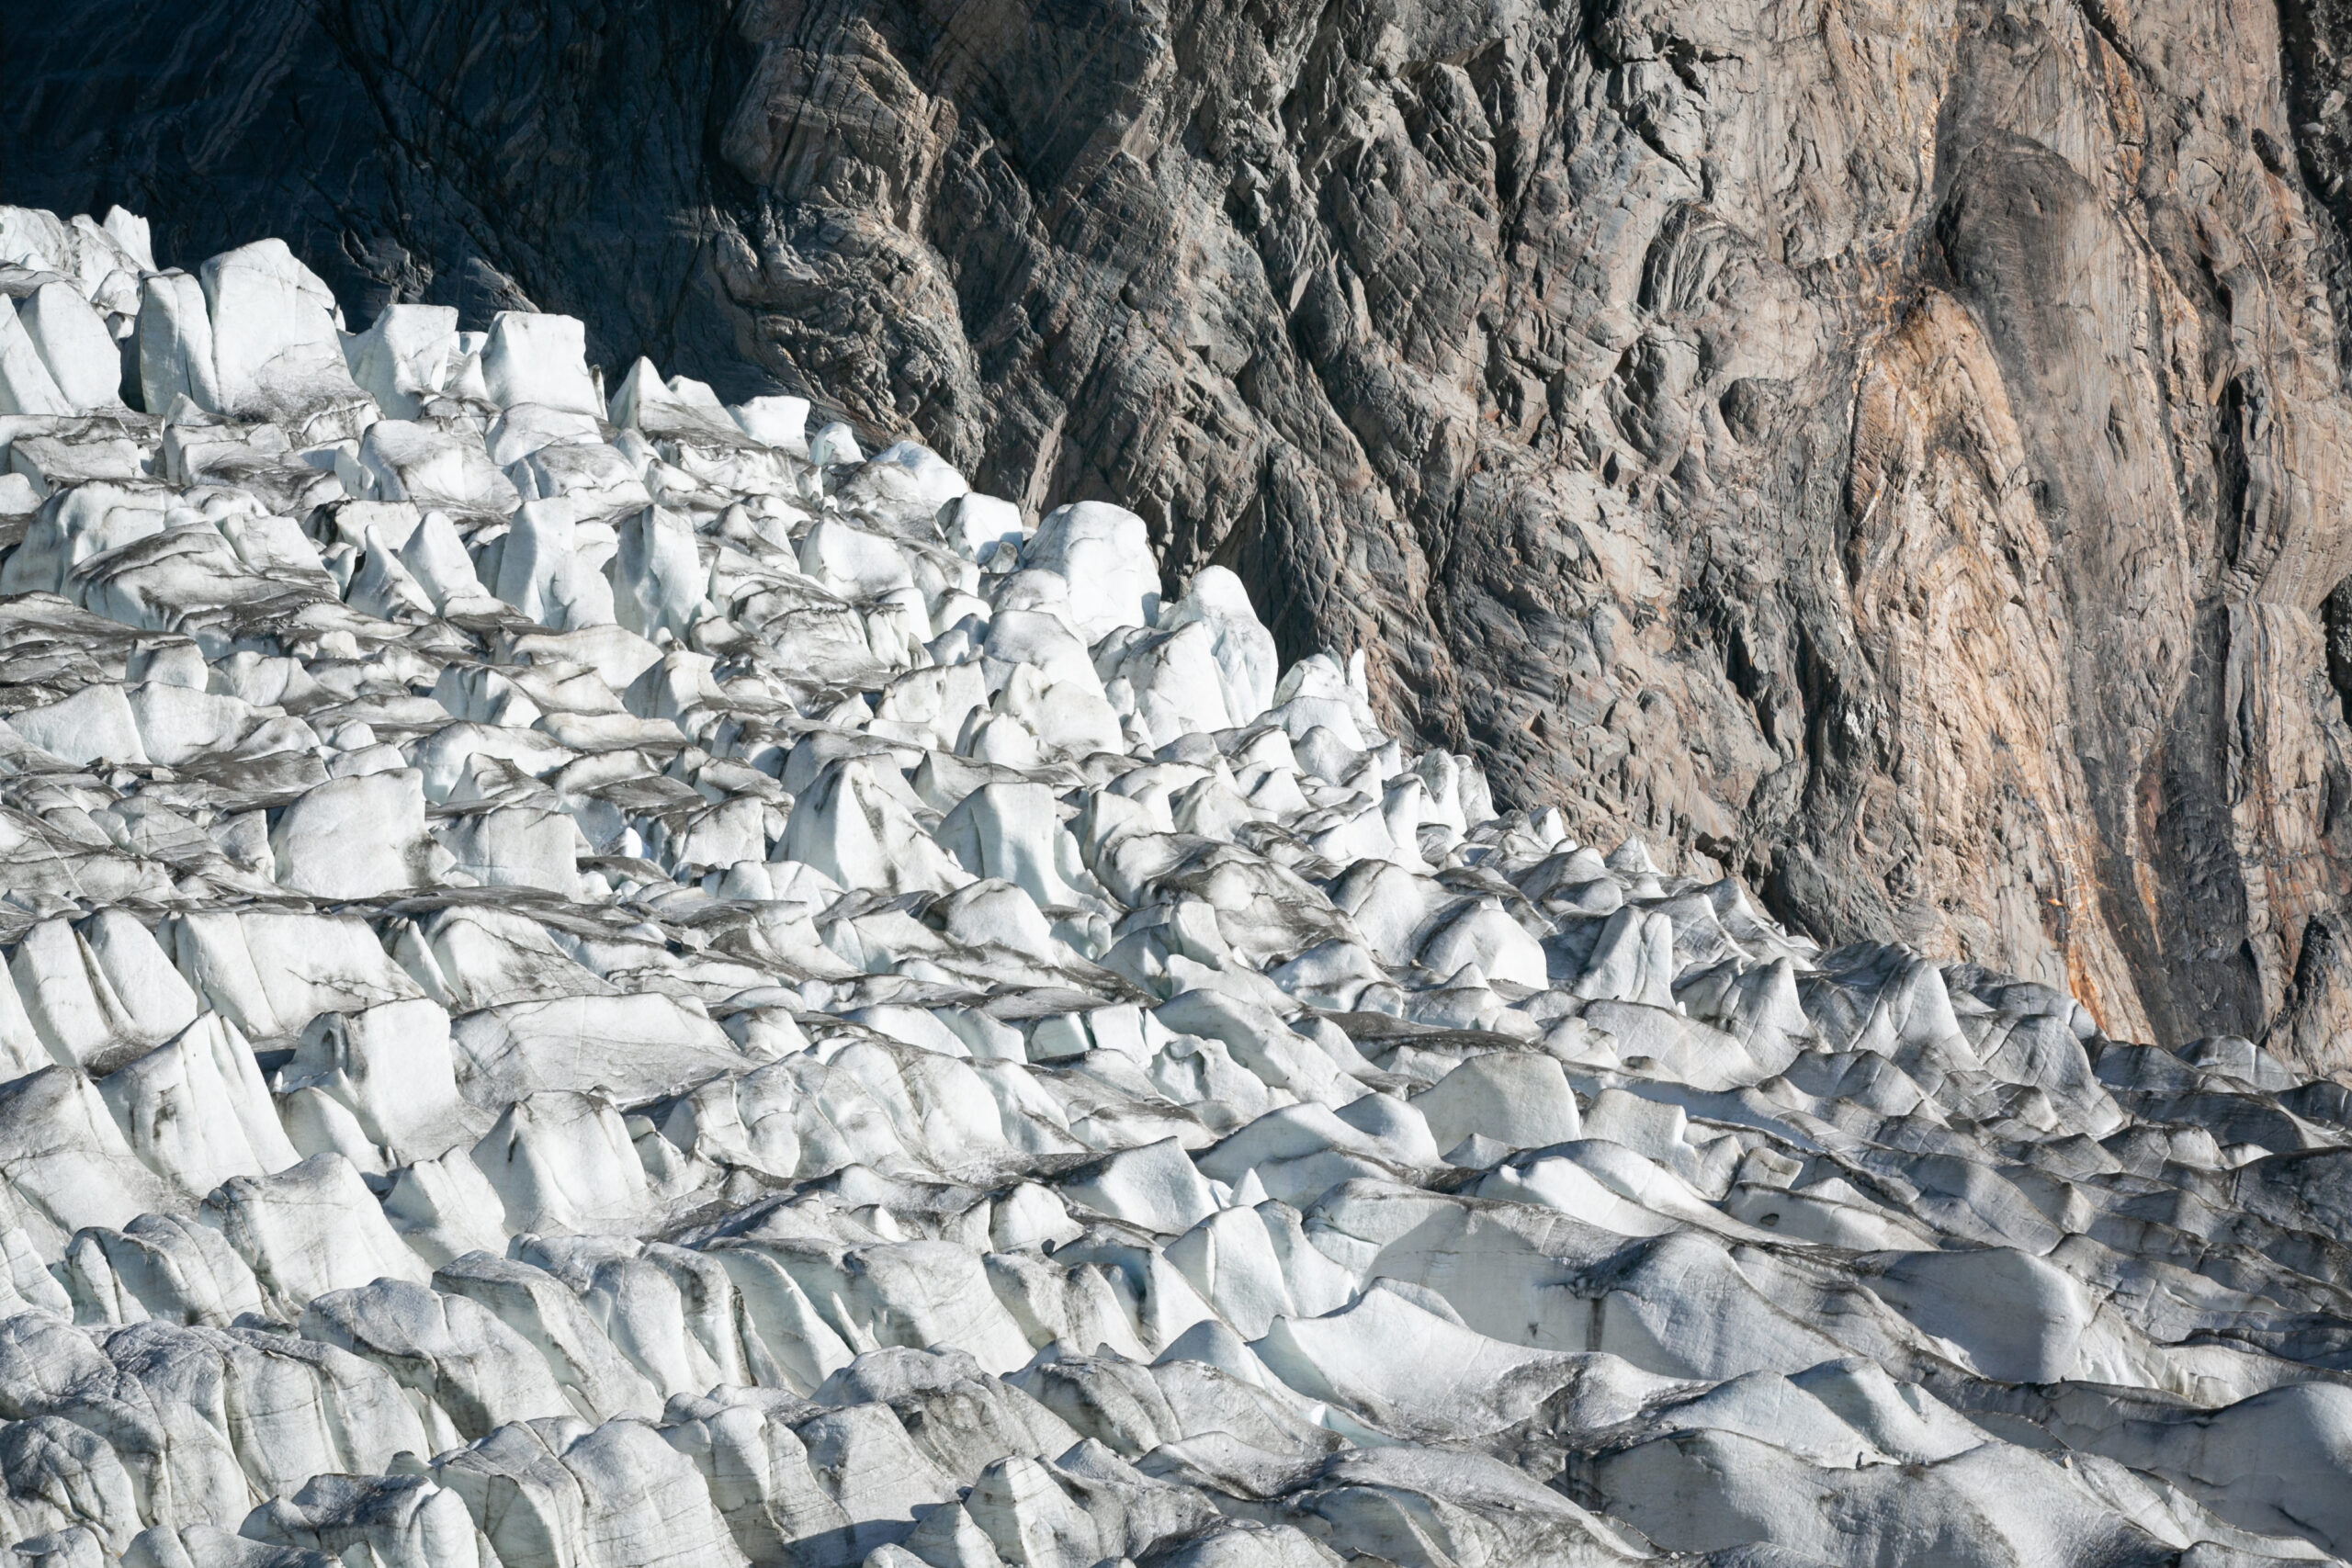
Distance, time and route choice
Allow approximately two to four hours for an outing to a nearby glacier viewpoint and back, after agreeing the endpoint with a local guide. Some advertised walks finish at a first lookout; others continue onto much rougher moraine or begin at a different roadhead. Ask for the mapped return distance for your specific walk. Borith Lake itself is around 2,600 m; the altitude and climbing above it depend on the chosen viewpoint.
Reach Borith by the local access road, then follow the current path towards the agreed lookout. Stop on stable ground well back from ice, moraine edges and undercut banks. A view from above is enough; walking onto the glacier does not make this a better short hike.
Facilities and hazards
Arrange food, water and toilets around Borith before departure and confirm opening hours for seasonal businesses. Carry water treatment if your plan includes refilling. Rocky paths can be confusing where the glacier margin changes, and old GPS lines do not establish safe access. Use a local guide for uncertain moraine terrain and return if the route has fresh collapse, rockfall or unsafe stream crossings.
Do not combine this walk with a suspension bridge visit as though all attractions share one footpath. Each needs its own access and condition check. If you want to cross the Passu Glacier and climb to Patundas, use the separate guided itinerary below.
4. Ultar Meadows: a demanding hike above Karimabad
Best for: experienced day hikers wanting a mountain setting close to Karimabad. Ultar Meadows, also called Ultar base camp in trekking descriptions, lies around 3,270–3,300 m. The approach through the gorge is substantially more demanding than visiting Baltit Fort.
Route and current access
Traditional approaches begin around the upper Karimabad/Baltit area and enter the valley behind the town. The route climbs through steep, rocky terrain towards summer pastures and shepherds’ shelters. Published operator itineraries allow four to five hours uphill and three to four hours downhill. Your hotel location and the current usable approach affect both distance and ascent.
Confirm access with a local guide before setting off. This is a gorge route with erosion, rockfall and landslide exposure, particularly after rain or snowmelt. A trail visible on a map may be damaged. If the gorge is unsafe, choose another trek rather than trying to bypass a collapse.
Day hike or overnight?
A day trip requires an early start, a firm turnaround time and enough reserve energy for the descent. An overnight meadow stay spreads the effort, but needs camping equipment, a checked water source and an acclimatisation plan. Seasonal huts or food services should never be assumed available. Carry a headlamp even on a day hike.
Hon Pass, around 4,257 m in established trekking descriptions, is a separate steep extension above the meadow. It adds altitude and effort; it should not be squeezed into the same day by a newly arrived trekker. Ask a guide to assess snow, exposure, fitness and sleeping-altitude progression before adding it.
5. Patundas Meadows: a guided glacier and alpine trek
Best for: fit trekkers with time for acclimatisation and a supported mountain itinerary. Patundas lies high between the Passu and Batura glacier landscapes. Published meadow and camp elevations vary, commonly around 4,170–4,300 m; walks farther up the ridge climb higher and are separate extensions.
Route and stages
A common approach starts from Borith, continues towards the Passu Glacier area and crosses the glacier with a guide before climbing towards higher pastures. Camp names include Passugar/Passu Gar and Luzhdar/Ludgar, with spellings varying between operators. The exact crossing line and usable camps change with ice conditions and water availability.
Plan the trek around a lower approach camp, a meadow or ridge visit, and a controlled return—not around reaching the highest possible viewpoint. A three-day arrangement may be feasible for an acclimatised group, while an extra night can be important for others. If visiting Patundas would create a large jump in sleeping altitude, ask about returning to a lower camp and adding acclimatisation rather than assuming that an extra night at the same low campsite makes any ascent safe.
Guide, equipment and support
Use an experienced local guide who knows the current glacier crossing. The operator should assess whether rope, harness, traction equipment or a changed route is necessary, and explain how the group will cross safely. A porter carries loads; that role is not automatically a substitute for a glacier guide.
Carry or arrange all camping equipment, meals, fuel and water treatment. Above the approach settlements, expect no dependable shop, phone signal, mains charging or formal toilet. Ask who supplies tents and sleeping equipment, how much personal baggage porters carry and whether the guide has a communication and evacuation plan.
Turn back if the guide cannot establish a safe glacier passage, streams become unsafe, weather obscures the route or anyone develops altitude symptoms. Fit legs do not remove altitude risk. Published route descriptions place the meadow around 4,170 m; a firsthand three-day account reports a camp around 4,300 m. This difference is why the booked campsite and high point matter more than a single rounded altitude.
6. Hoper village and glacier viewpoint walks
Best for: a gentler introduction to Nagar, village landscapes and a glacier seen from a safe lookout. Hoper, Hopar and Hopper are spellings of the same valley name. These walks are deliberately included as walks, not presented as the Rush Lake trek.
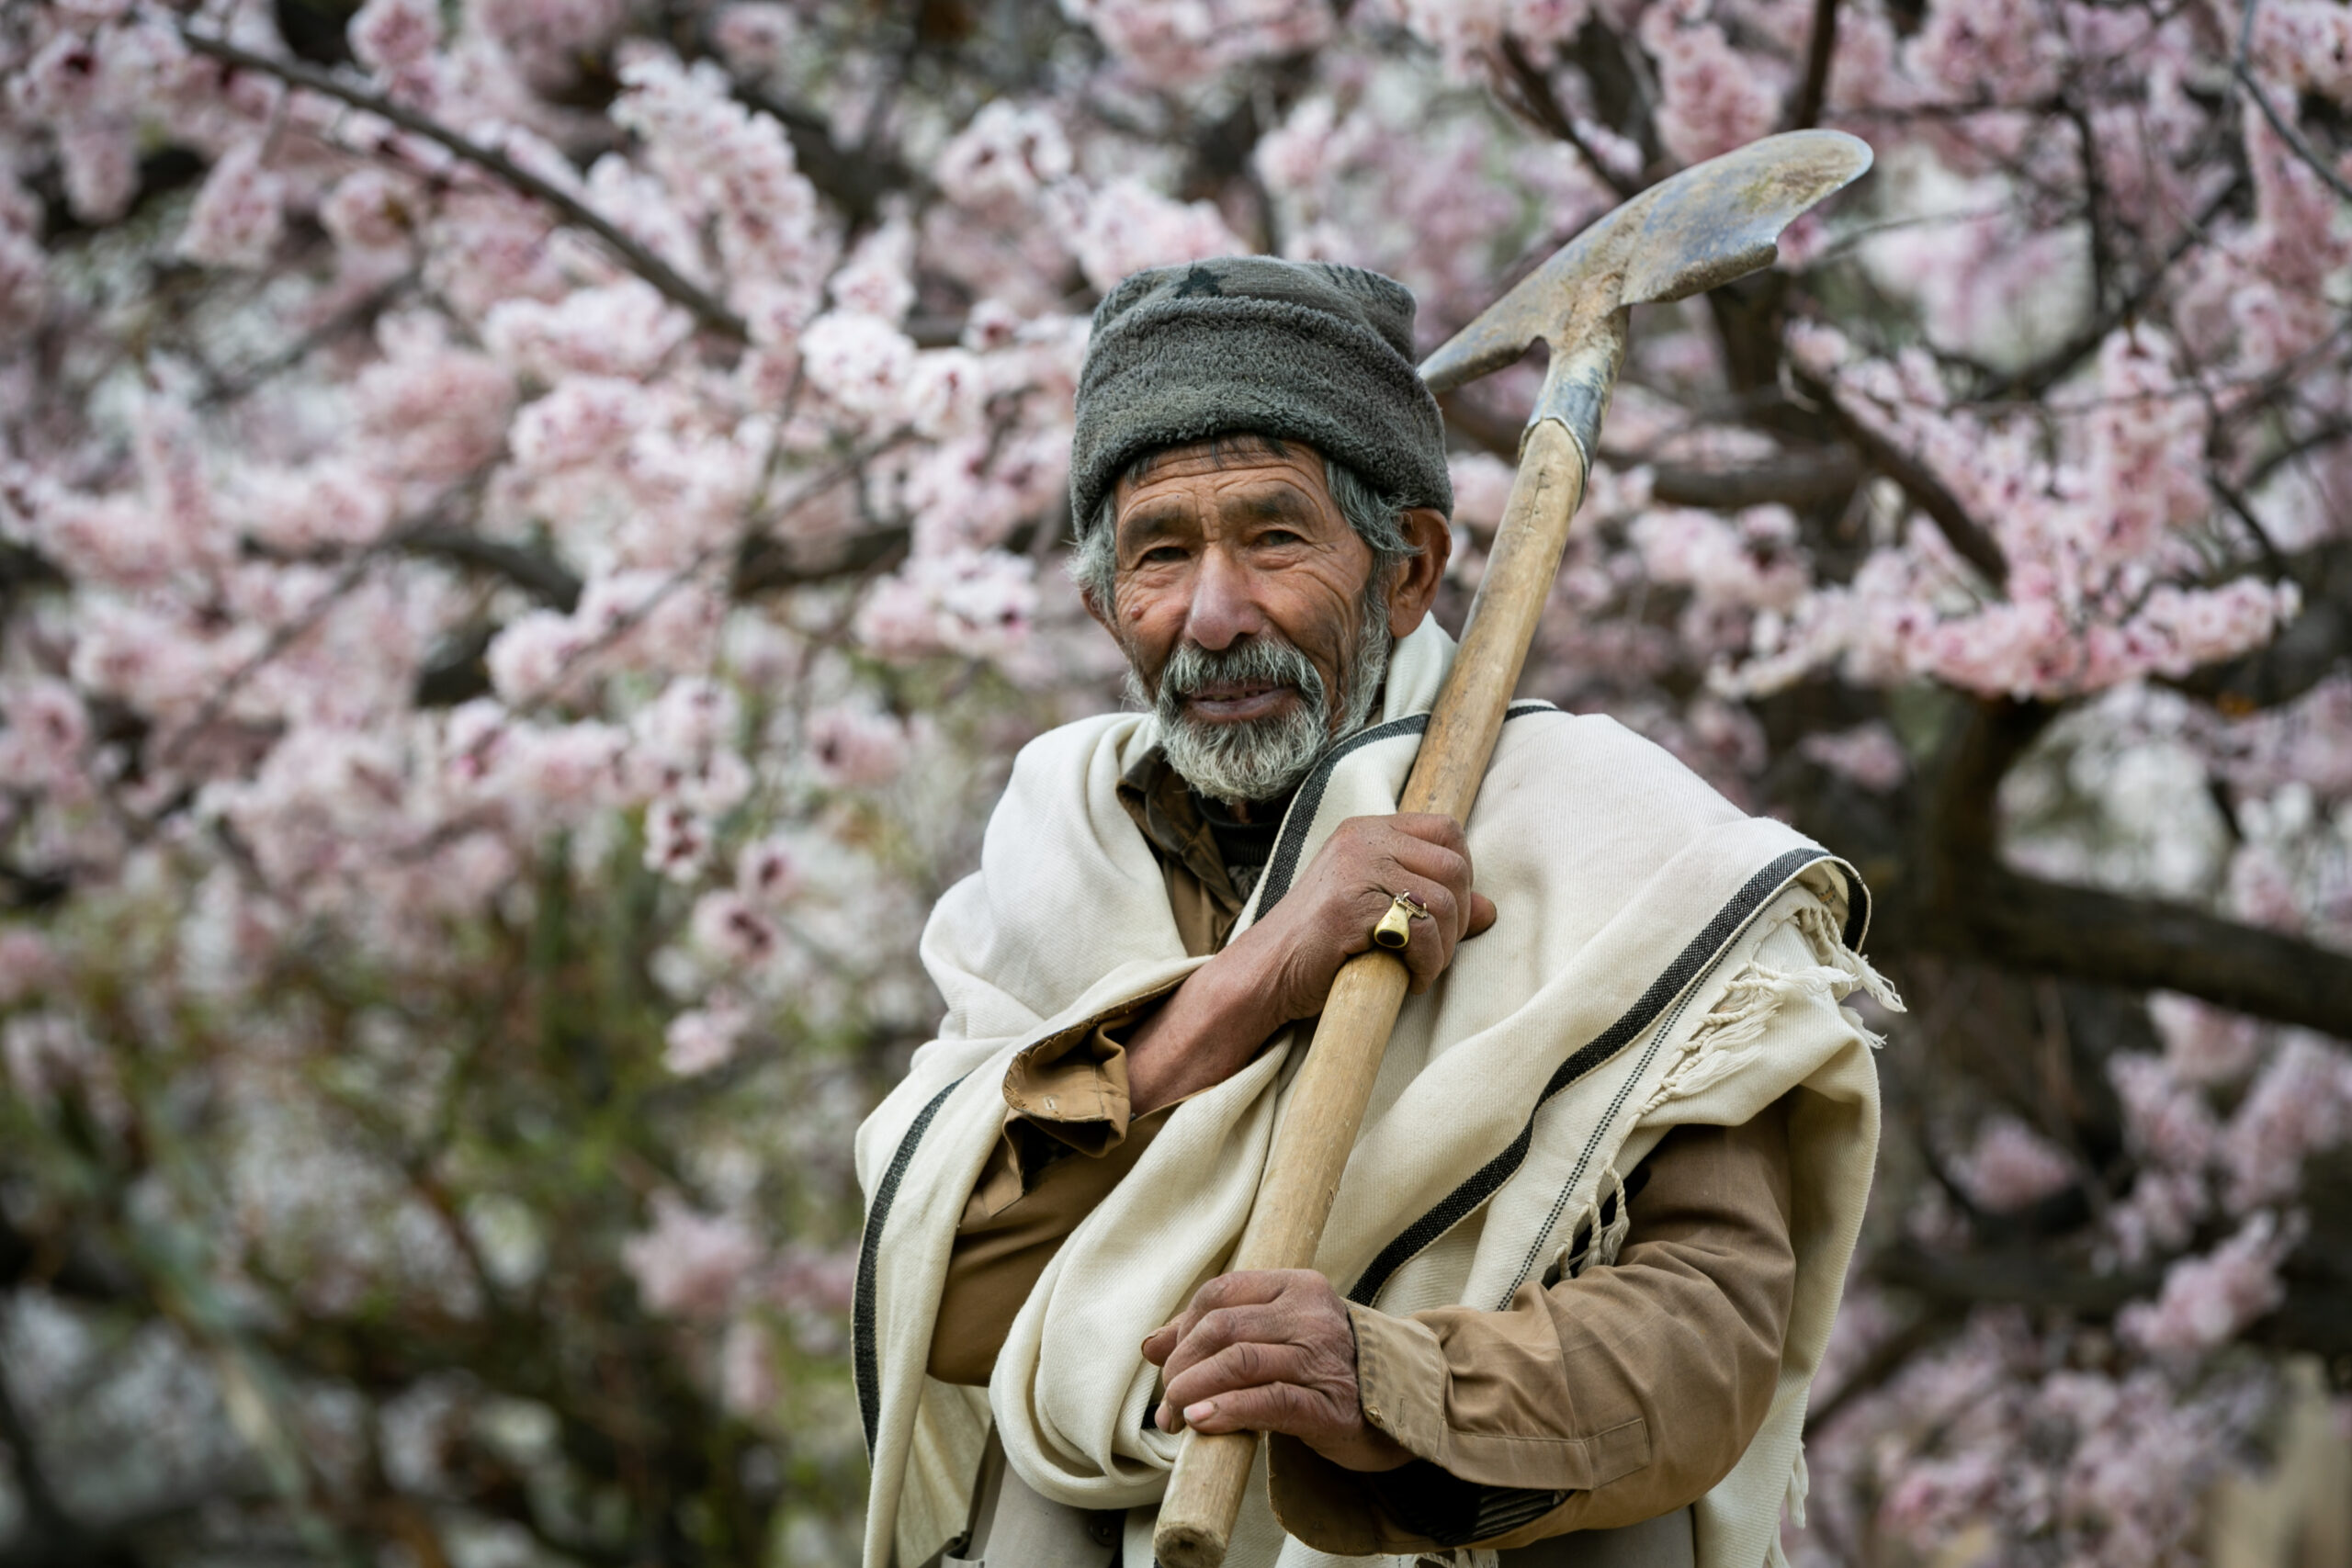
Choosing a suitable walk
Reach the village by road and ask a local host to recommend a current glacier viewpoint away from unstable edges. A short lookout outing can take roughly 45–90 minutes with stops; a village circuit can be longer. Distance and climbing depend on parking, the lookout and whether you include terraces or upper lanes. Do not promise a fixed loop before choosing the path.
The village is roughly 2,700–2,800 m, so even an easy walk deserves a relaxed pace after arrival. Older travellers and families can choose a short, stable path and turn around early. Uneven stone lanes, steps and exposed lookout approaches mean wheelchair access should be checked individually rather than assumed.
Facilities and boundaries
Arrange lunch and toilets in the village, take drinking water and ask before walking through cultivated fields or photographing residents. Keep away from the glacier edge and do not descend onto Bualtar/Hoper Glacier as an improvised family outing. The Rush Lake route starts from this valley but crosses into a much more remote environment; it requires separate guiding, equipment and preparation.
7. Hapakun Meadows: the lower Rakaposhi approach
Best for: hikers wanting a substantial uphill day or a first camping night without continuing to the upper base camp. Hapakun, also referred to as Hapakun camp, is reached from Minapin in Nagar. It is part of the Rakaposhi approach, not a second unrelated trailhead.
Route and effort
The approach climbs from Minapin, roughly 2,000–2,100 m, through village-side paths and wooded slopes towards pasture. Allow around four to five hours uphill at a measured trekking pace, with a shorter but still tiring descent. Roughly 700–900 m of ascent makes this a full walking day; it is not a flat warm-up.
Start early and agree a turnaround time if returning to Minapin. A night in Hapakun can make the Rakaposhi itinerary less rushed, provided your equipment and water arrangements are suitable. Confirm the usable camp location and avoid pitching near unstable slopes, flood channels or livestock routes.
Food, water and camping
Seasonal refreshments or tents may operate, but confirm availability and what is supplied before leaving the village. Carry food for the day and treat any spring or stream water. Toilets can be basic or absent; agree the sanitation arrangement with the camp operator. Phone service should be treated as unreliable, and charging generally requires your own power bank.
Hapakun is a sensible destination in its own right. If the group is tired, weather has deteriorated or the upper route is unsafe, stop here and descend rather than continuing just because Tagaphari is on the original schedule.
8. Rakaposhi Base Camp: Minapin to Tagaphari
Best for: a two- or three-day meadow trek beside a major glacier, with impressive mountain views when weather allows. The usual recreational “Rakaposhi Base Camp” route from Minapin leads through Hapakun to Tagaphari, also spelled Tagafari or Tagaphari meadow, in Nagar.
Altitude and route
The commonly visited upper meadow/viewpoint area is usually described around 3,300–3,500 m; published camp elevations differ because the named meadow and higher viewpoints are not one precisely surveyed spot. Obtain the actual booked campsite altitude. The mountain summit is a mountaineering objective and is not part of this trek.
From Minapin, climb to Hapakun, then continue on the steeper upper path towards Tagaphari and views over the Minapin Glacier. Expect uphill zigzags, uneven ground and a demanding final ascent. Allow roughly three to four hours for the Hapakun-to-upper-meadow stage, with conditions and pace affecting the timing.
A practical three-day plan
- Day 1: Minapin to Hapakun; settle into camp and assess how everyone is feeling.
- Day 2: Continue to Tagaphari with the guide. Use the afternoon for a short, safe viewpoint walk only if weather, energy and altitude response allow. Sleep at the agreed camp.
- Day 3: Descend carefully through Hapakun to Minapin. Keep the afternoon flexible for a slow return.
A two-day outing may suit fit, acclimatised hikers, but it compresses the climb. A same-day return is a very long, strenuous outing for well-prepared hikers with current route knowledge; it is not our default recommendation for visitors arriving from low altitude.
Glacier boundaries and facilities
The standard Tagaphari meadow approach does not normally require crossing the main Minapin Glacier. A Diran Base Camp excursion on the other side is a separate glacier itinerary and needs additional guiding and equipment assessment. Do not follow another group onto the ice or assume a visible track is safe.
Book camping, meals and porter support in Minapin before starting. Seasonal upper-camp services can change. Confirm tents, sleeping mats, treated water, toilets and the latest trail condition. Keep clear of moraine edges and snow-covered ridges; turn back if fresh rockfall, unstable snow, lightning or altitude symptoms develop. The official Gilgit-Baltistan tourism page identifies Minapin in Nagar as the trekking gateway.
9. Rush Lake: a longer high-altitude trek from Hoper
Best for: prepared trekkers seeking a remote alpine lake and several days of supported camping. Rush Lake is in Nagar above the Hoper glacier system, commonly reported around 4,660–4,694 m. Its inclusion here should not obscure the difference from a short village hike: this is a high-altitude undertaking with glacier travel and limited exit options.
Route, distance and camps
Established itineraries start at Hoper and cross glacier and moraine terrain before ascending to high pastures and the lake. Bericho Kor/Khor and Chidin Harai are common camp names. Some itineraries retrace the approach; others return through different pastures and glacier sections. Your operator must provide the actual mapped itinerary, walking distances, camp elevations and crossing plan.
Do not mistake an ascent-only GPS track of about 16 km for the total trek. Some public tracks end below the quoted lake altitude, and circuit returns add different distances. Use a complete route-specific map instead of multiplying an incomplete ascent track and treating the result as a precise total.
Acclimatisation is the central planning issue
Published schedules sometimes move from Bericho, around 3,300 m, to Chidin Harai, around 4,300–4,400 m, in one stage. That is a large increase in sleeping altitude. Do not accept that progression automatically because it appears in a commercial itinerary. Request a slower plan with feasible intermediate sleeping arrangements and additional acclimatisation, or a different route plan advised by an experienced operator and travel-health clinician.
Allow roughly five to seven trekking days or more according to the actual route and your altitude response, with separate weather flexibility and acclimatisation before leaving Hoper. A day visit to the lake followed by a lower overnight may be preferable to sleeping beside it for some groups. Suitable intermediate camps and water cannot be assumed: the operator must confirm them on the ground.
What the experience includes
Expect glacier crossings, rough moraine, steep uphill sections, exposed high ground and cold camps. Clear weather can reveal major Nagar and Karakoram peaks, but clouds may hide them completely. Do not book around a guaranteed K2 view. Rush Peak is a separate higher objective, requiring its own assessment; reaching the lake does not mean your group should attempt it.
Support, water and evacuation
Arrange an experienced Hoper-based mountain guide, camping crew or porter support, all meals, stove fuel and water treatment. Ask whether water is available at each proposed camp or must be carried or melted. Plan toilet hygiene and waste removal. Do not rely on mobile coverage, staffed lodges, charging points or a road exit above the village.
Before paying, obtain the emergency communication method, evacuation procedure, responsibilities for rescue costs and cancellation arrangements if the glacier route is unsafe. Verify insurance coverage for Pakistan, trekking to at least the planned maximum altitude, glacier travel and evacuation. A helicopter is not an assured or immediate exit; weather, availability and approvals can delay rescue. Begin descent or assisted evacuation early when symptoms or conditions warrant it.
Getting to the trailheads and choosing a base
Gilgit is a common gateway for travel into Hunza and Nagar. Mountain flights and road travel are weather dependent; build an alternative into the trip rather than booking a tight same-day connection with an international flight. Seasonal high passes, landslides and roadworks can change the overland route. Check the chosen road immediately before travel.
| Base | Most useful for | Transport arrangement |
|---|---|---|
| Gulmit / Upper Hunza | Ondra, Attabad-area Baskochi, Borith outings | Separate local transfers for each roadhead |
| Borith area | Passu viewpoint and Patundas preparation | Confirm road condition and vehicle suitability |
| Karimabad | Ultar and lower village walks | Ask whether your hotel adds walking to the approach |
| Minapin, Nagar | Hapakun and Rakaposhi Base Camp | Stay before the trek; agree baggage storage and return pickup |
| Hoper, Nagar | Village viewpoints and Rush Lake | Arrive with time for route briefing and support checks |
Request the current driving distance and realistic transfer duration for your exact accommodation; district names alone are not enough. Confirm roadhead coordinates with the guide, save them offline and agree the return pickup time and a late-return procedure. Shared transport may not run when you finish walking. Carry cash for local services and refuel or purchase supplies before moving into a smaller village.
International visitors can consult our Pakistan visa guide for international travellers. A visa is separate from any trekking access, local registration or restricted-area permission.
Acclimatisation, fitness and emergency decisions
Arrive with a base of regular walking and practise long descents with the shoes and pack you will use. Training should match the trek: stairs help for Ondra, repeated uphill days help for Rakaposhi, and multi-day loaded walking prepares you better for Patundas or Rush Lake than one fast gym session. Fitness does not prevent altitude illness.
Record the sleeping altitude of every night, not just the highest daytime viewpoint. A list of camps without elevations cannot show whether an itinerary is gradual. Allow flexible rest and descent options, especially for Rush Lake. Children also need a conservative plan and close observation.
Agree a turnaround rule before starting
Set a latest turnaround time based on daylight, terrain and the slowest walker. Return early for worsening weather, unsafe crossings, repeated slips, persistent illness or fatigue that threatens the descent. Headlamps are backups, not permission to begin a difficult route late.
Give your accommodation a route, participant list, expected return and emergency contact. For remote treks, ask which satellite or radio communication method actually works in the area and who receives an emergency message. Save the operator, insurer and locally verified emergency numbers offline. Carry essential personal medication and tell the guide about relevant medical needs privately before departure.
Guides, fees, food, water and other essentials
What to ask a guide or operator
- When did you last travel this exact route, and what has changed since then?
- What are the mapped return distance, daily ascent and sleeping altitudes?
- Who leads glacier crossings, and what equipment and safety procedure will be used?
- What happens if a participant needs to descend while others continue?
- Which water sources, camps and toilets are currently usable?
- What are the weather, access and health reasons for cancellation or turnaround?
A short village walk can be arranged locally. For Ultar’s gorge, unfamiliar moraine paths, Patundas and Rush Lake, route-specific experience matters more than a general sightseeing guide. Confirm language, group size, guide-to-client arrangements and porter load limits.
Costs and permissions
Request an itemised quote covering transfers, guiding, porters, campsites, meals, fuel, tent and sleeping equipment, community contributions, any applicable permits and emergency arrangements. Ask whether rental equipment, tips, bottled drinks and extra weather nights cost more. Compare the same inclusions rather than headline prices. Rates vary by season, group size and support level, so a fixed online price would be misleading.
Confirm access rules with a licensed local operator and the relevant local authority for your nationality and exact route. Restricted or protected areas, security arrangements and local registration can require additional steps. Do not infer that a route is permit-free simply because someone walked it previously.
Facilities checklist
Water: refill before departure and carry enough to reach the next confirmed source; two litres may be a useful day-pack starting point, but hot, dry climbs can require more. Adjust with the guide. Treat mountain water; clear appearance does not establish safety. Drink normally rather than forcing excessive amounts.
Food: take lunch and quick snacks on day hikes. On camping treks, agree the full menu, dietary needs and contingency food. Toilets: use village facilities before leaving; confirm camp sanitation. Pack out hygiene products. Connectivity: download maps, bookings and contact details; expect signal gaps and bring power banks. Accommodation: book village nights and check baggage storage. Seasonal meadow tents are not guaranteed hotel rooms.
What to pack
| For every hike | Add for overnight/high routes |
|---|---|
| Broken-in grippy footwear; spare socks; day pack; water and treatment; lunch and snacks | Appropriate tent, insulated sleeping mat, comfort-rated sleeping bag; dry sleep clothing |
| Sun hat, sunglasses, sunscreen; warm layer; waterproof jacket; gloves for colder conditions | Insulated jacket, thermal layers, warmer gloves and hat; waterproof trousers as appropriate |
| Headlamp and spare power; offline map; charged phone; first-aid and blister supplies; personal medication | Power bank, waterproof packing, camp footwear, food/fuel plan and remote communication arrangement |
| Small cash, identification, toilet tissue and waste bags; walking poles if useful | Guide-specified glacier equipment and confirmed porter baggage allowance |
Keep waterproofs, insulation, water, snacks, medication and a headlamp with you even when a porter carries the main bag. Test rental sleeping gear before departure. Ask for a written equipment list for Patundas and Rush Lake; do not buy technical gear without knowing how and where it will be used.
How to fit the treks into a trip
Three relaxed days around Upper Hunza
Begin with a gentle arrival day and village time. On the second day, climb Ondra Poygah at an unhurried pace. On the third, choose either Baskochi or a locally assessed Borith–Passu viewpoint outing. This is a lower-hike programme, not preparation to rush directly to a 4,700 m camp.
A Minapin stay with Rakaposhi Base Camp
Arrive in Minapin before the trek, check equipment and current trail conditions, then use the three-day Hapakun–Tagaphari–Minapin plan. Keep a spare day for weather or a slower group and leave room for recovery before another demanding trek.
A longer trip with Patundas or Rush Lake
Build in gradual arrival and several lower-altitude nights, then choose one major supported trek with a campsite-by-campsite acclimatisation plan. Add transport and weather buffers at both ends. Rush Lake needs more than a spare weekend between sightseeing stops; the mountain schedule should determine the holiday length.
Plan a trek that fits your pace
Tell us your travel dates, walking experience, recent altitude exposure and preferred routes. We can help shape a Hunza and Nagar itinerary around current access, suitable camps and realistic travel time.
Plan your Hunza & Nagar trek →Respect the villages, pastures and glaciers
Use established paths, close gates and avoid crops and irrigation channels. Ask before entering fields, photographing people or using a shepherd’s shelter. Dress considerately in villages and agree campsite use with the people managing the pasture.
Carry out all litter, including food packaging, batteries and hygiene products. Keep washing and toilet waste away from water sources; follow the guide’s sanitation arrangements. Do not remove alpine plants, feed wildlife, light fires with scarce local wood or carve names into rocks. Buy local services fairly and respect a guide’s decision that a route is unsafe.
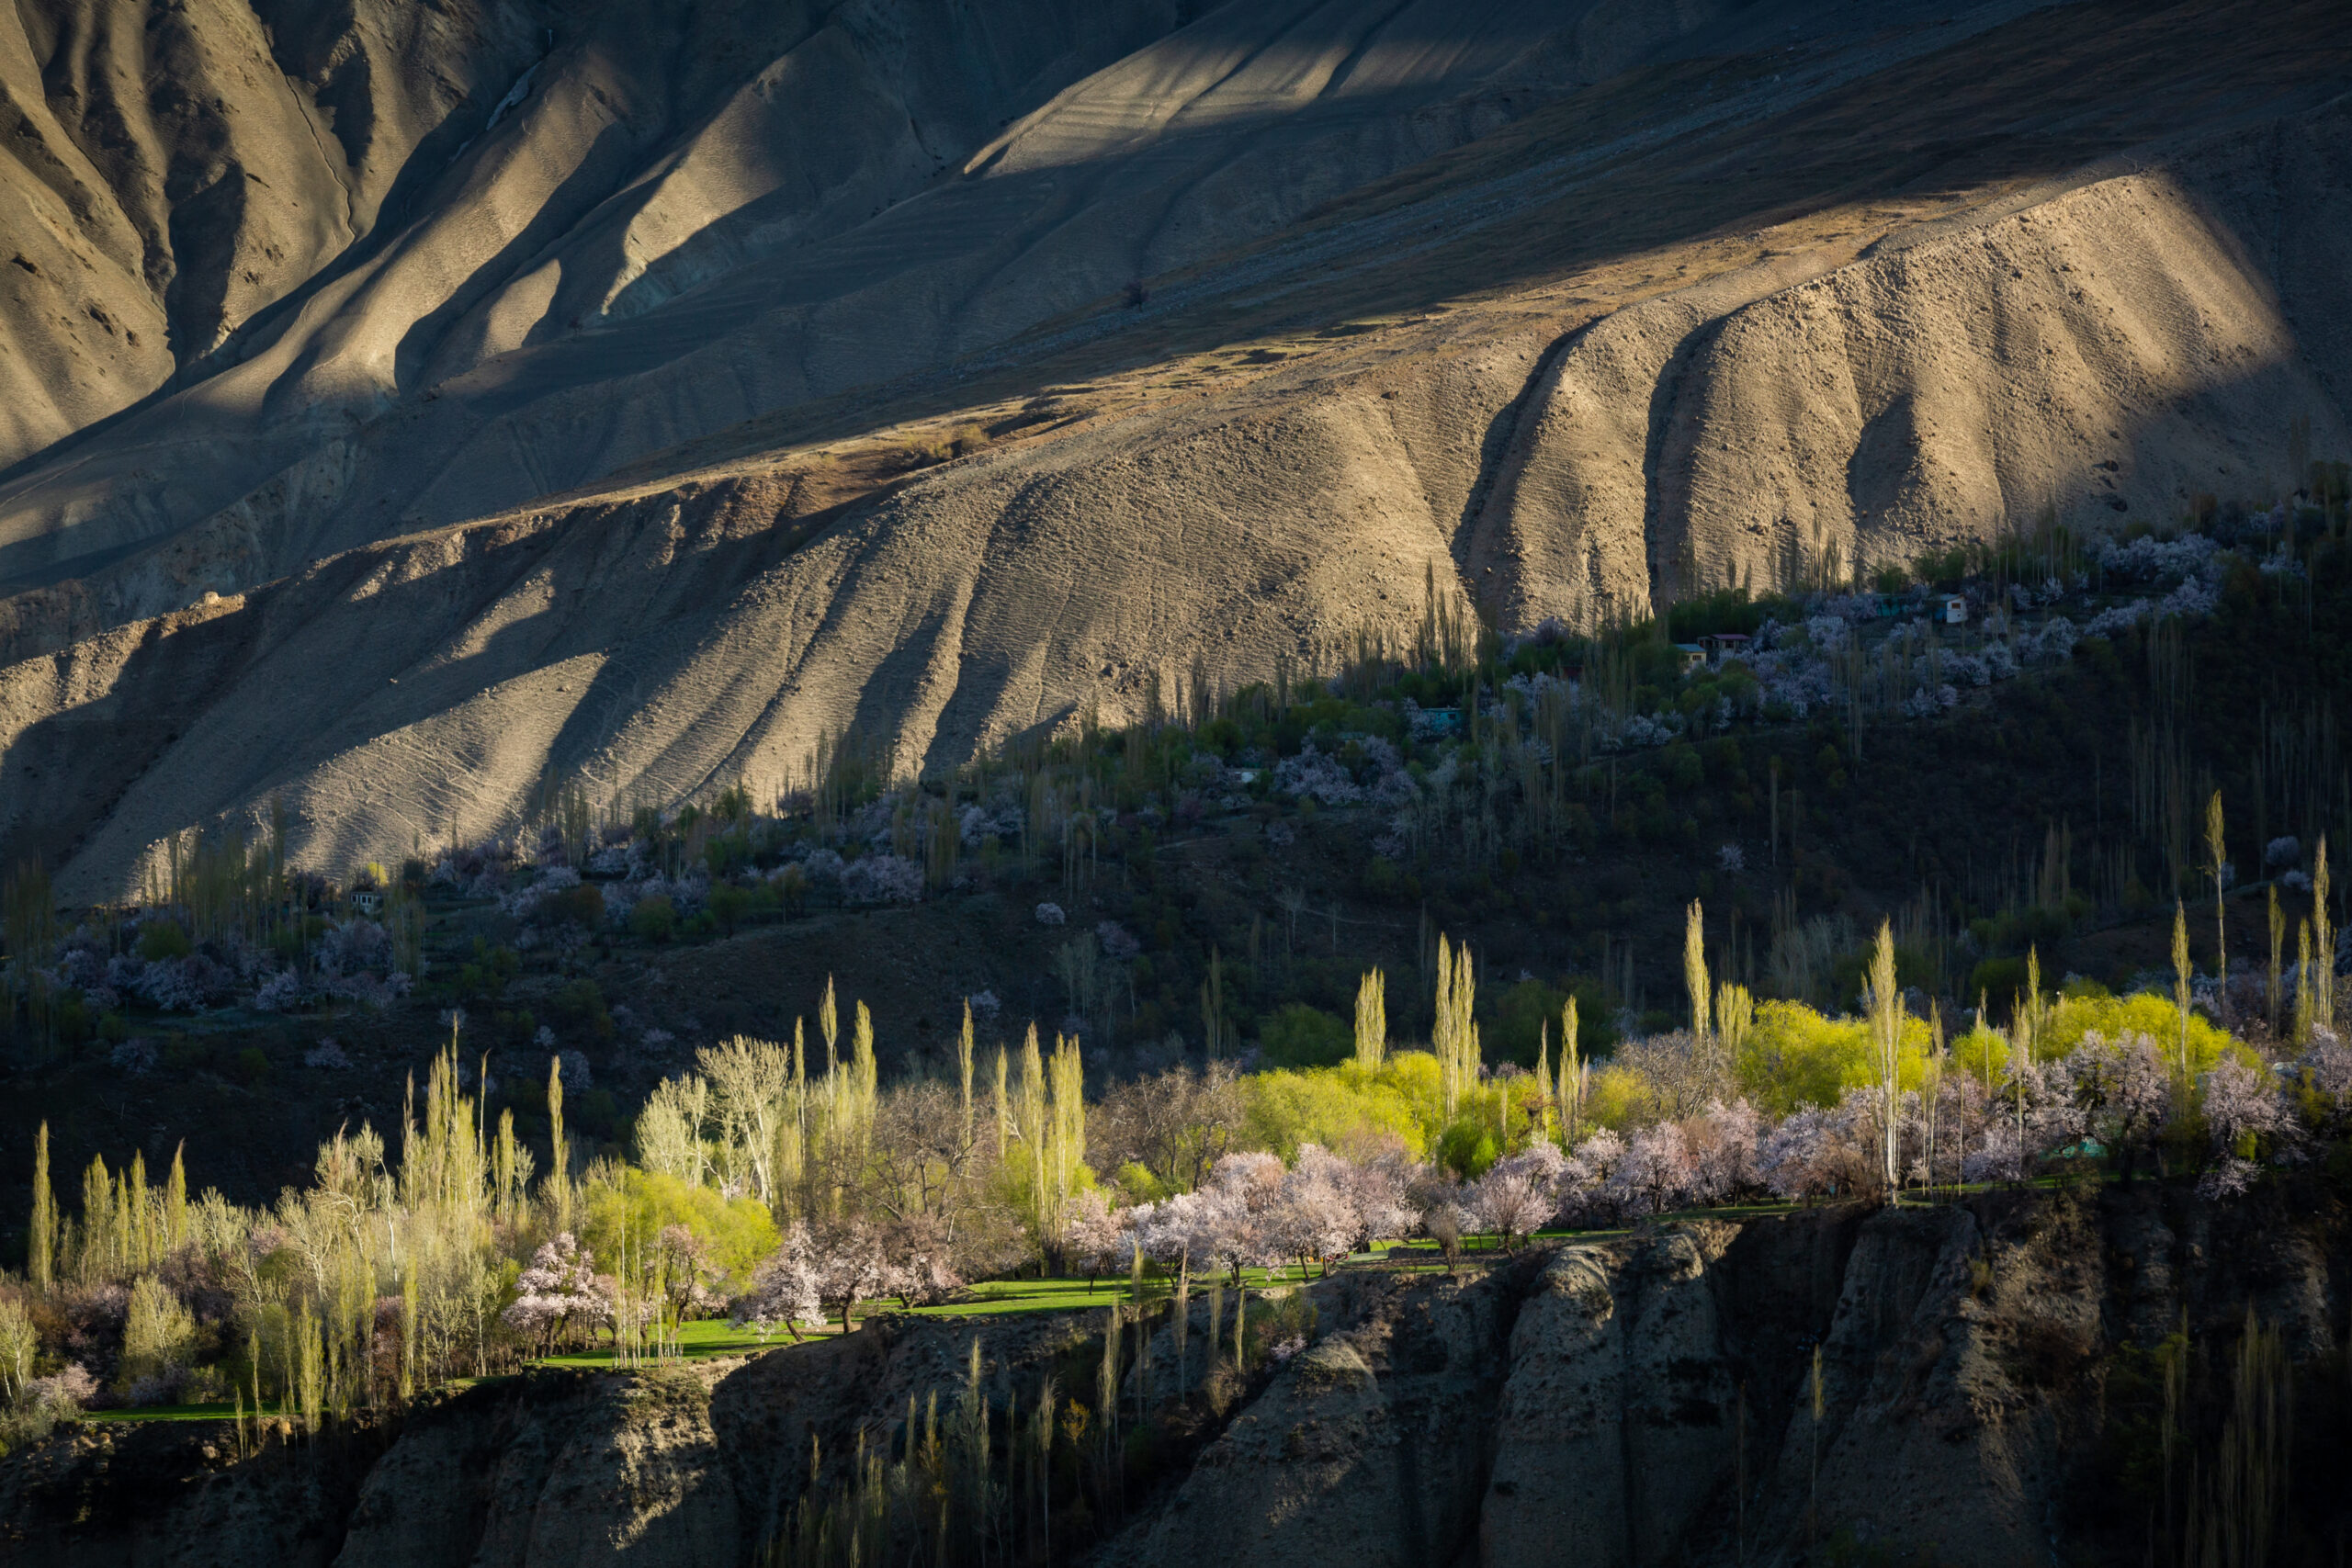
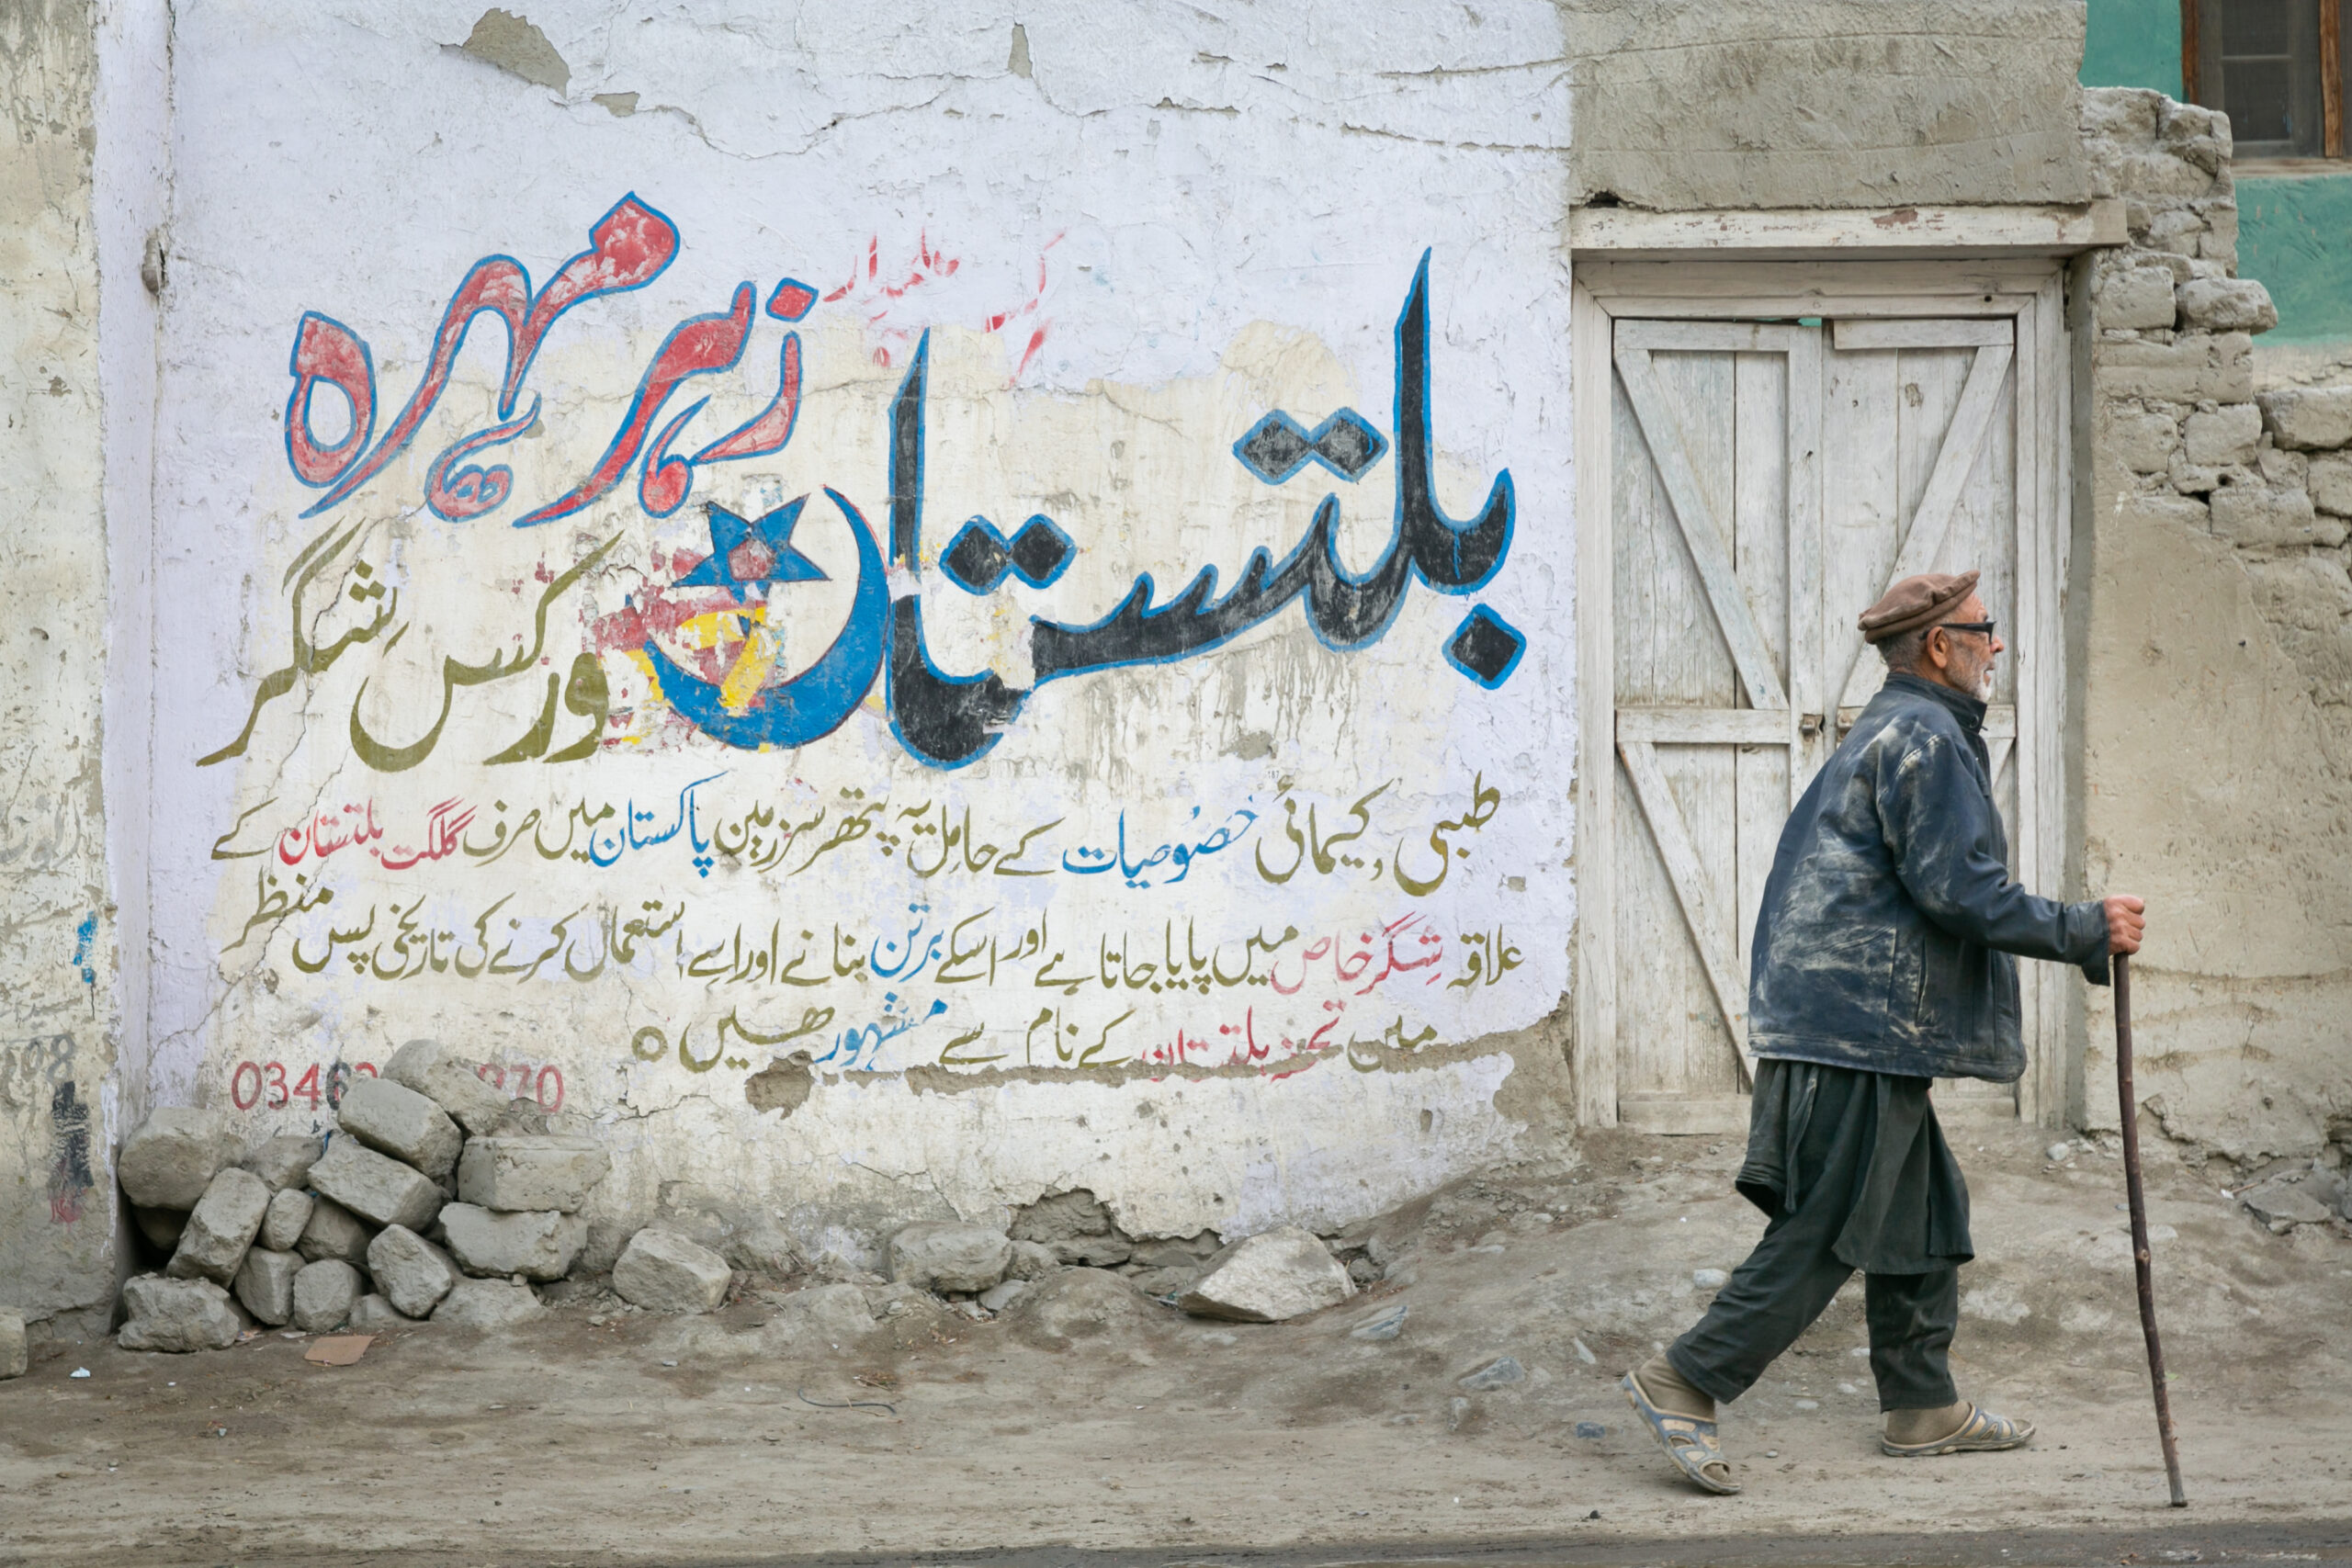
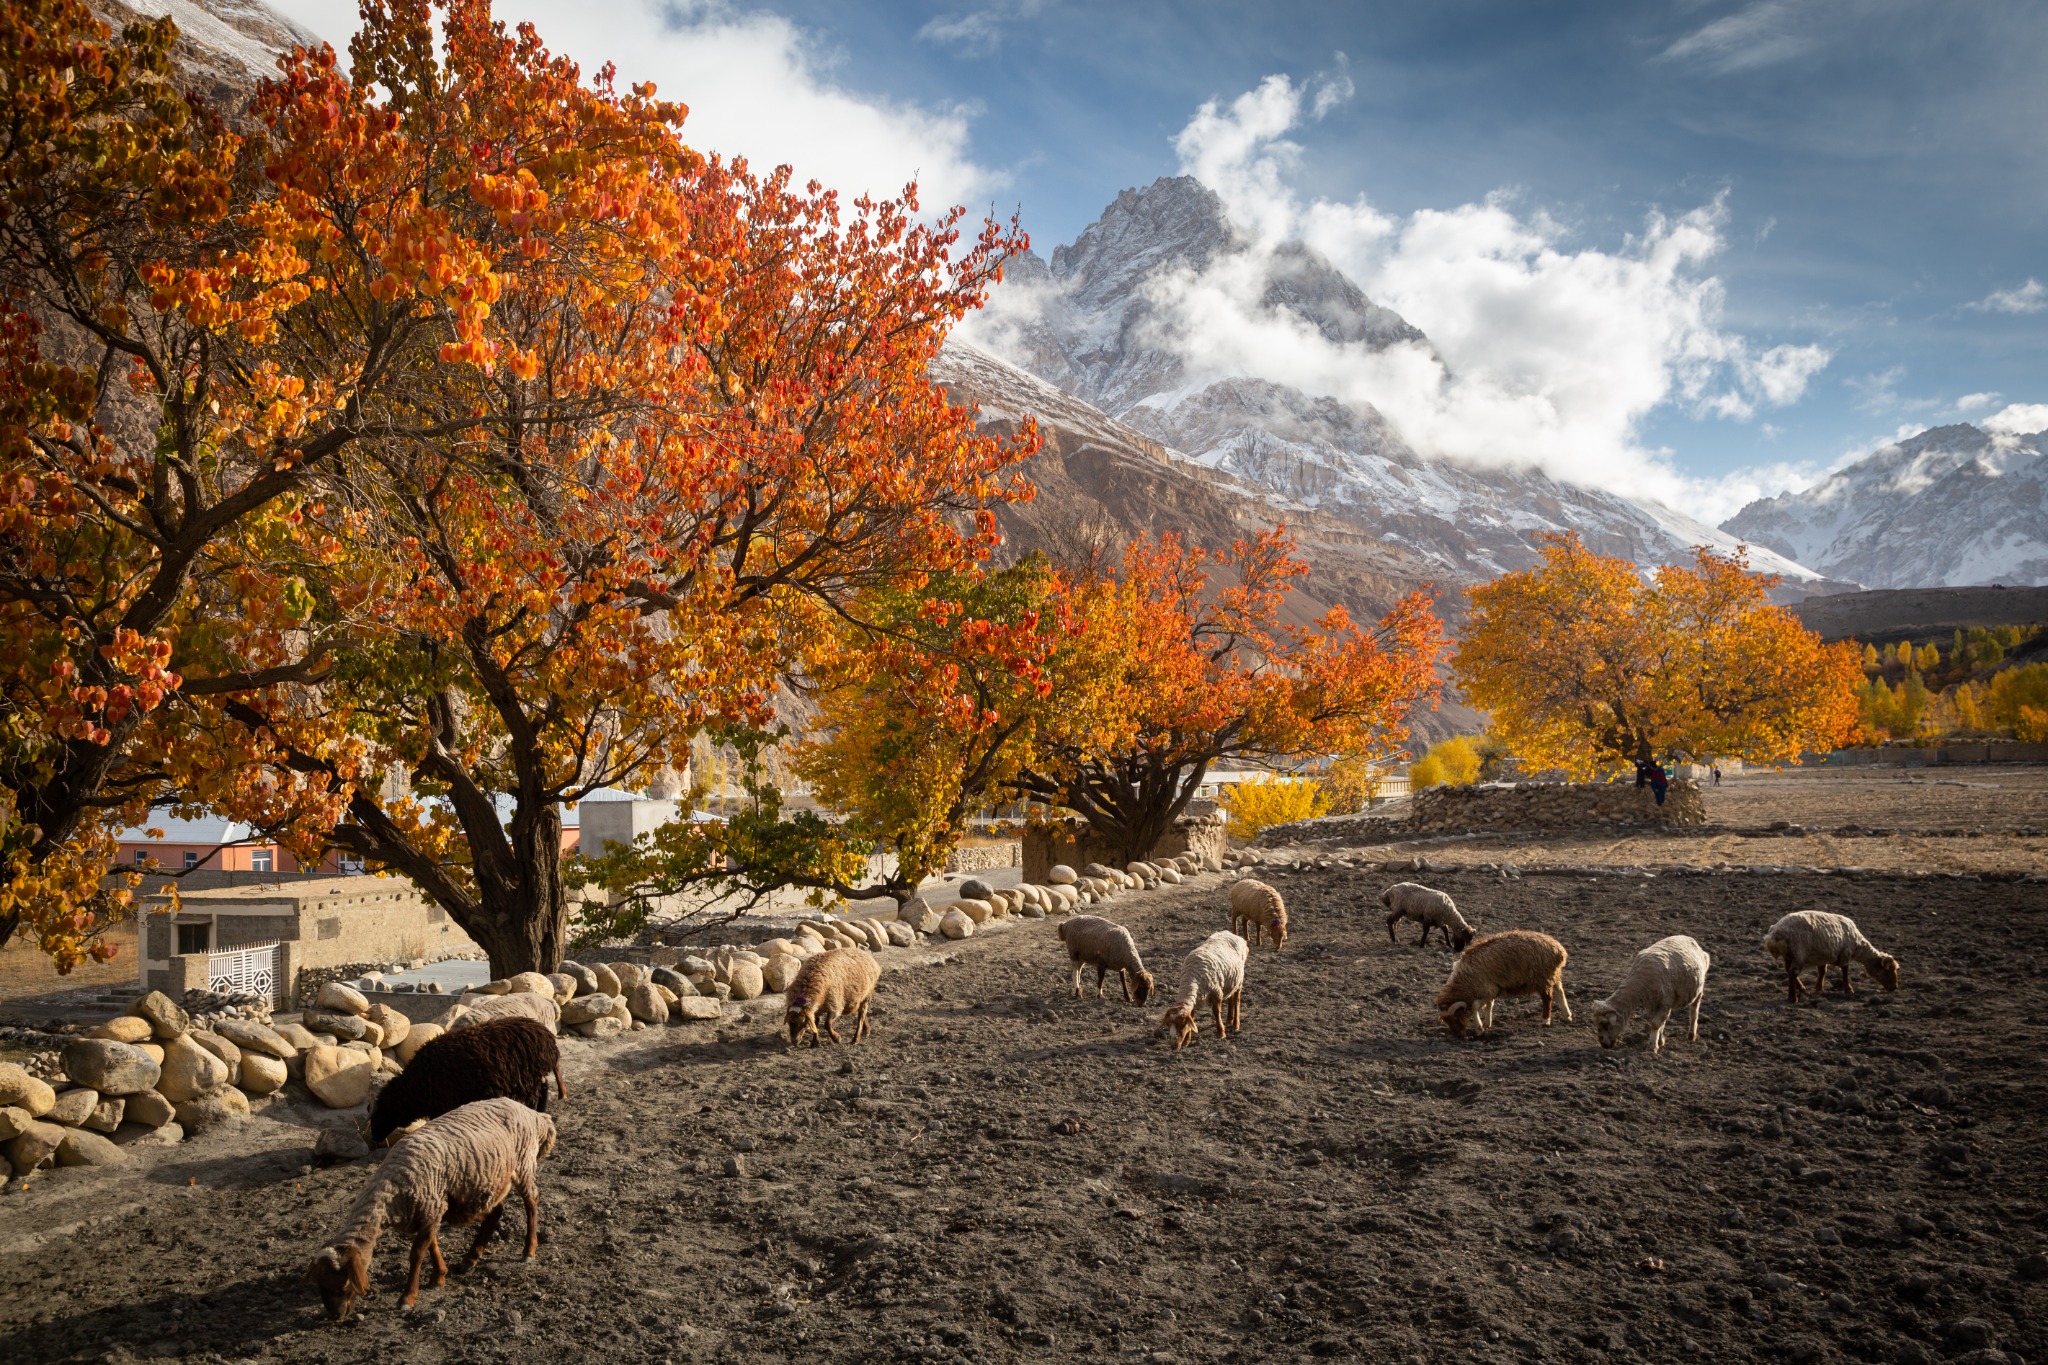
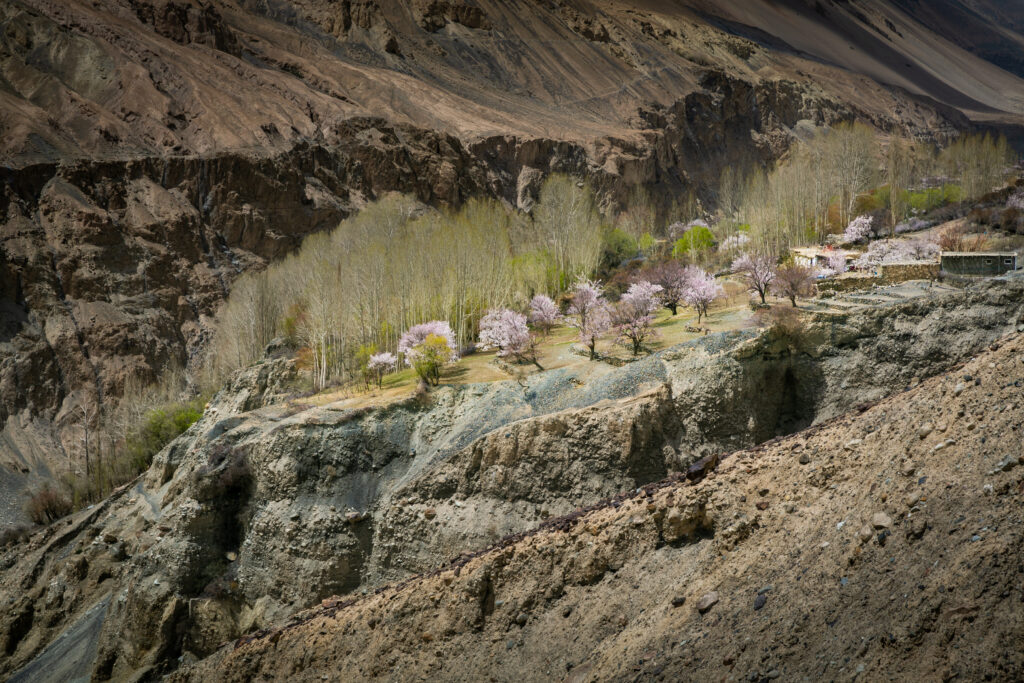
All photographs in this article are actual images from the Crossroads Adventure gallery. They illustrate their stated locations and are not generated route diagrams or promises of current trail conditions.
Frequently asked questions
Which short Hunza trek is most suitable for a first visit?
A selected Hoper village viewpoint walk or Ondra Poygah is a reasonable starting point, subject to mobility, weather and altitude response. Ondra still has a sustained stair climb. Baskochi is short but steep.
Can Rakaposhi Base Camp be completed in one day?
Some strong hikers do it, but the distance, large ascent and demanding descent make it a long day. Two or three days is a more realistic recommendation for most visitors. Do not arrive from low altitude and assume you should attempt a fast return.
Is Rush Lake an easy short trek?
No. It is a multi-day high-altitude trek from Hoper in Nagar with glacier travel and remote camps. Plan around gradual sleeping-altitude gains, current crossings, support and evacuation arrangements.
Do I need a guide for Patundas and Rush Lake?
Use an experienced local mountain guide for both. Glacier crossings change and require route assessment. An offline map or another trekker’s track cannot replace that judgement.
Does the Borith–Passu viewpoint walk cross the glacier?
The outing described here stops at an assessed viewpoint. Crossing the glacier towards Patundas is a separate supported itinerary.
Can I rely on food stalls and tents in the meadows?
Only after confirming what is currently operating and included. Seasonal services can close. Carry food and water for day hikes; book camping support and water arrangements in advance for overnight routes.
Are these treks open all year?
No. Lower walks may be possible outside summer in suitable conditions, but snow, ice and access can prevent higher treks. June–September is the usual high-route planning period, not an access guarantee.
Can I add Hon Pass, Diran Base Camp or Rush Peak?
These are separate extensions with additional altitude, terrain or glacier demands. Discuss them before booking; do not treat them as automatic extras to the meadow or lake route.
Sources and how to use the figures
Checked 4 October 2026. This is a planning guide, not a live trail-status bulletin. Sources disagree on some camp elevations and use different track endpoints. Rounded ranges reflect that uncertainty; they should be replaced by your operator’s current mapped itinerary before departure.
- Gilgit-Baltistan Tourism: Rakaposhi — official destination and Minapin approach context.
- PakTrails: Ondra Poyga Stairs; Baskochi Top; Rakaposhi Basecamp; Ultar Sar Basecamp — track-based distance cross-checks. Track direction and endpoints matter.
- CDC Yellow Book: high-altitude travel — acclimatisation and altitude illness.
- Pakistan Meteorological Department — official weather information and advisories.
If a distance listing does not say one way, return or circuit, ask before using it. In particular, we do not reproduce an inconsistent Rush Lake track as the complete trek distance. Weather thresholds in the packing section are preparation guidance rather than measured monthly climate normals.